Environment
What is landscape?
'All the visible features of an area of land, often considered in terms of their aesthetic appeal.'
What is environment?
'The surroundings or conditions in which a person, animal, or plant lives or operates.'
'All the visible features of an area of land, often considered in terms of their aesthetic appeal.'
What is environment?
'The surroundings or conditions in which a person, animal, or plant lives or operates.'
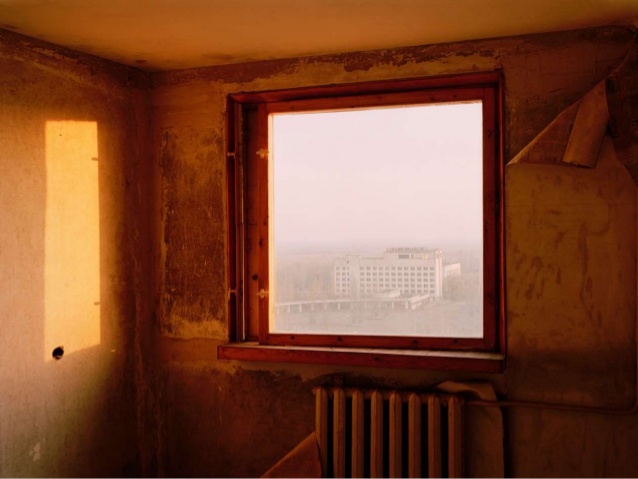
This project focuses on different kinds of environments and landscapes. For example, abandoned places/areas and in contrast modern looked after places. The artists that I will be looking at throughout this project are Alex Stikich and Navad Kander. Navad Kender captured his pictures to show how much damage the nuclear reactor Reactor no.4 in 1986 did, resulting in many people leaving their homes and memories.
|
|
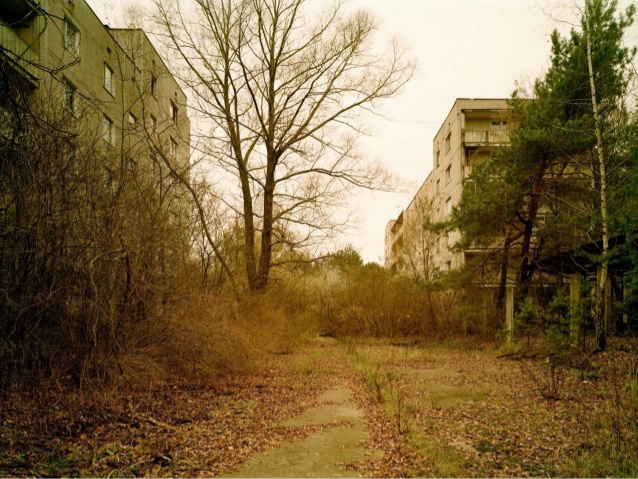
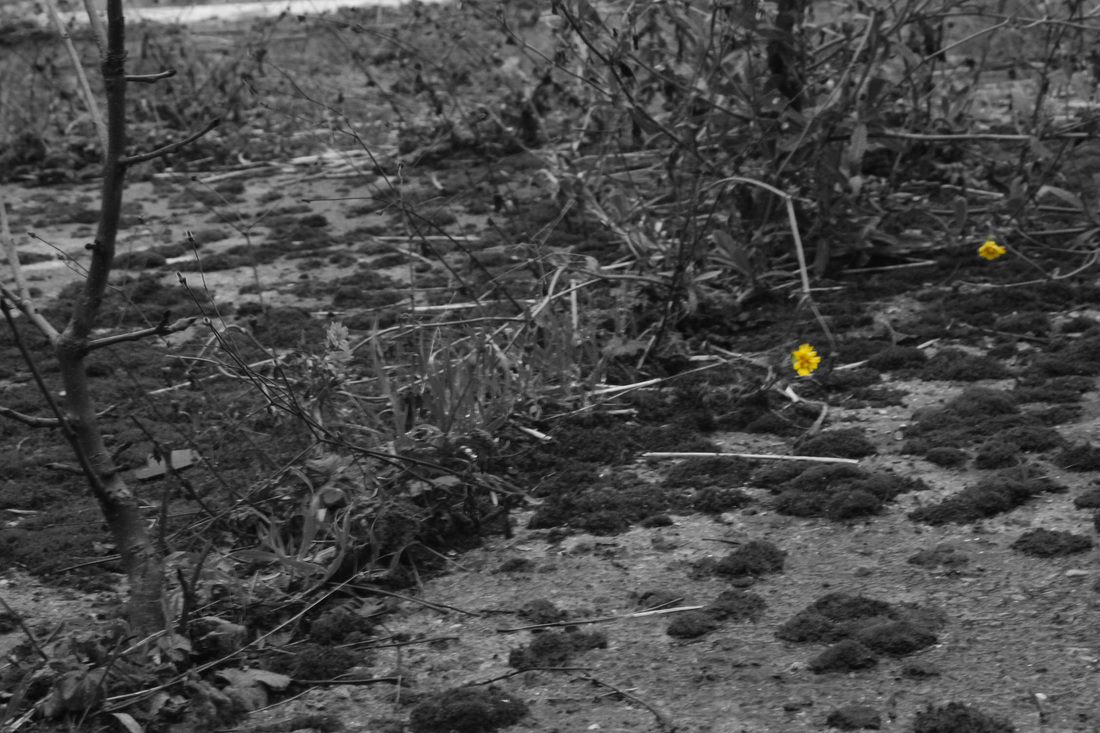
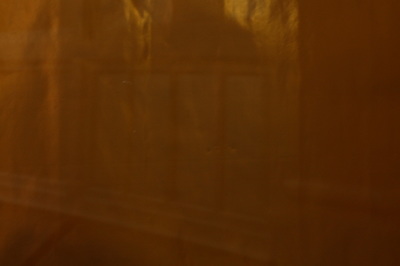
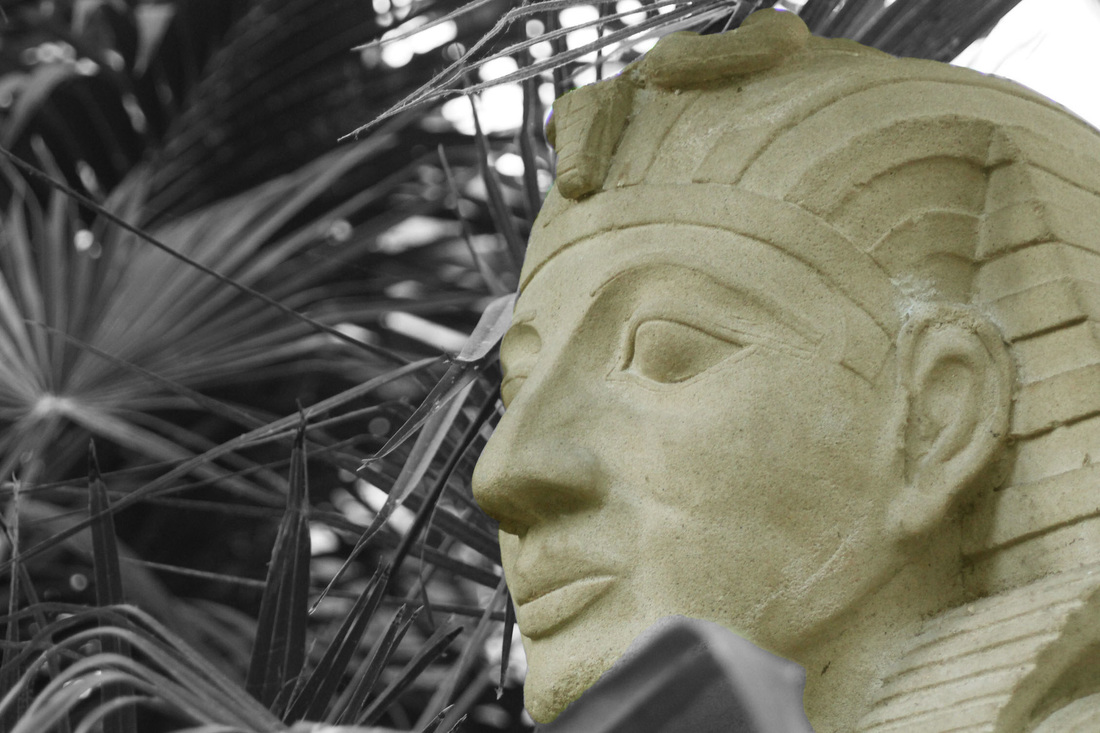
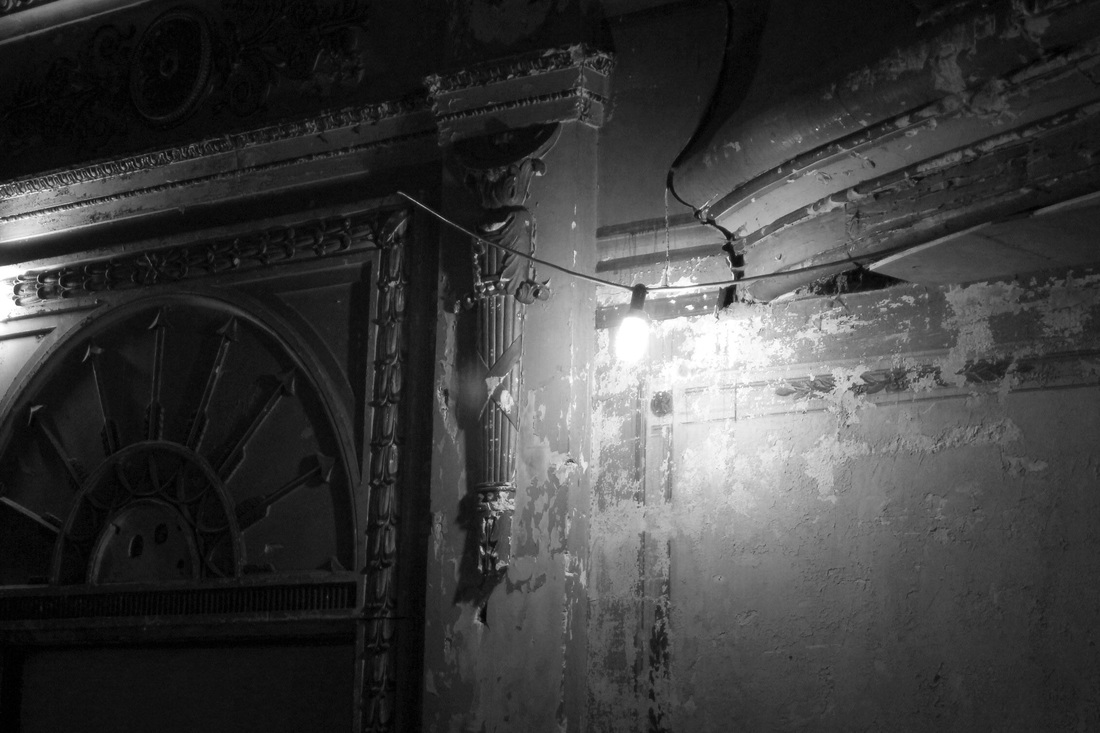
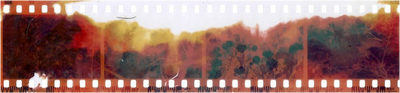
This image on the left is by the photographer Navad Kender; image highlights a warm colour, light and dark orange that represent the sun. The photograph shows an abandoned room, the wall paper is peeling off the right side of the wall, there is a large squared window in the middle of the room; there is a small radiator below the window leaning towards the right side of the room. Outside the window highlights the ruined city, the colour is white, that represents the cold. Lastly, on the left hand side of the room there is long rectangular light reflection. The process of creating this image was by placing the camera at a specific angle in order to capture the sunlight, the tone and contrast. The key words for the picture are, abandoned, derelict and empty. The photograph on the right is by Navad Kender shows an abandoned area with growing trees, weeds. There are leafs on the ground, the colours in the photograph are: light brown, dark brown, green and yellow. There is a tree is the middle of the image with mp leafs on it, there are bushes on the left hand side, there is a large building also on the left hand side of the image that is covered by the trees and the bushes. On the right hand side of the image, there is a tree that indeed has fresh green leafs on it and also a large brown building. The process of producing the photograph would be by having the camera at a low angle.The key words for this image are, busy messy abandoned, empty and lonely. Navad Kender's inspiration for his images was the nuclear explosion a couple of years ago. As a result of this, everything became destroyed, the citizens' homes destroyed, every memory was gone. Therefore, all that remained was ruins and dust.
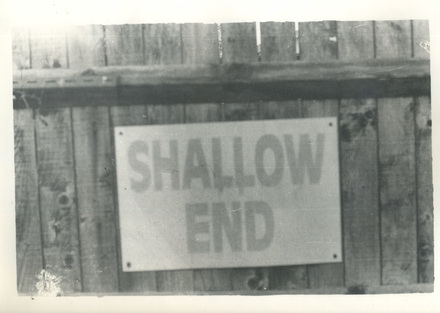
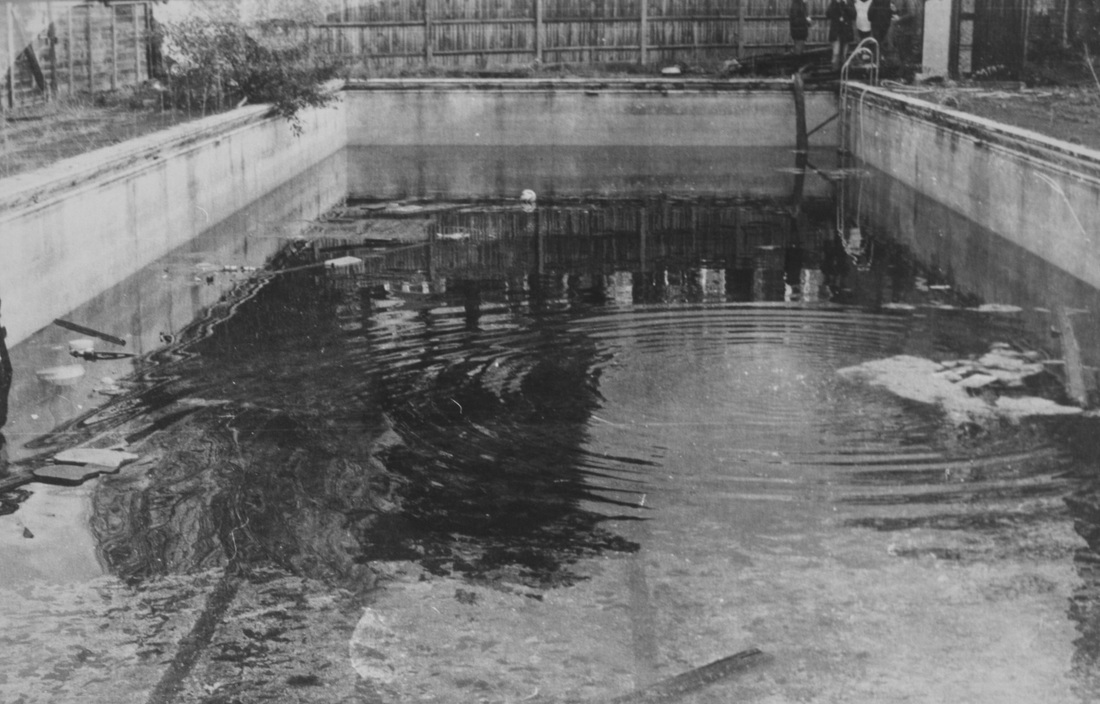
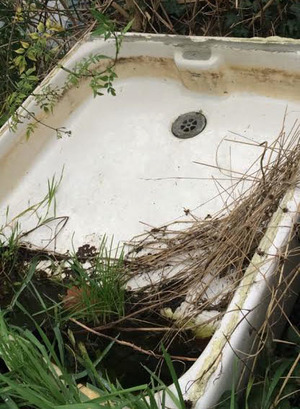
Derelict Swimming Pool
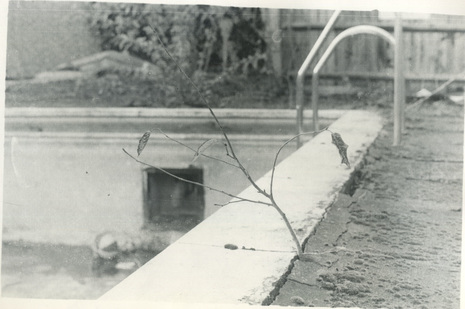
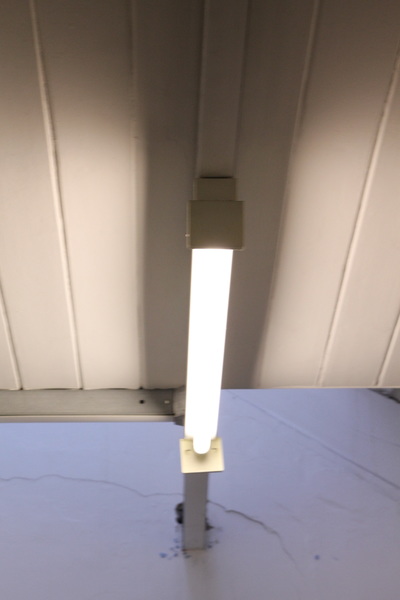
For this task, my intention was to capture the most derelict area in my school- our old swimming pool. I wanted to go around the area and capture any abandoned objects which represent 'derelict and abandoned'. This task was relatively straight-forward because I was just capturing objects, however, it was quite difficult figuring out the correct angle to photograph the object to make the object look good; however, I believe that I overcame this. Additionally, I used my Canon digital camera and a film camera, to show the contrast of quality between the two. I believe that the film camera achieved a better derelict effect on the photographs, due to the natural black and white effect.
Digital
|
|
|
Film
|
|
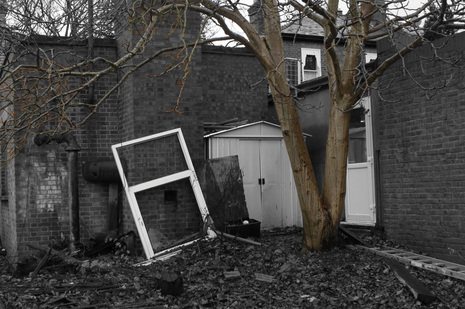
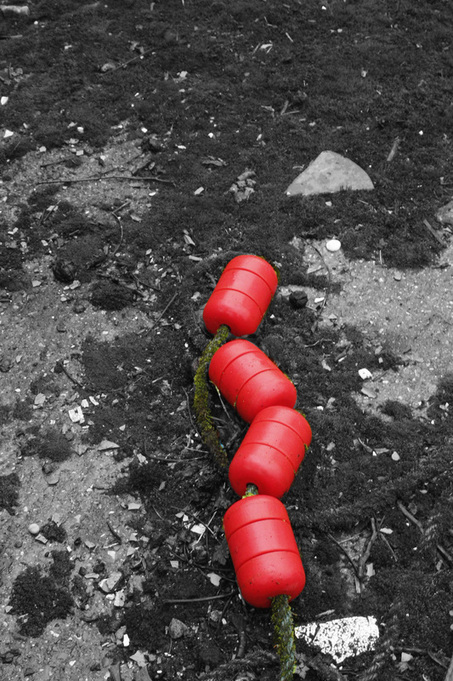
What went well: I like the idea of having the whole photograph in black and white, and then the main object in colour.This is because it makes the object stand out a lot more, because the red colour contrasts highly with the monotone.
Even better if: To improve, I would have taken more images because I feel that I haven't taken enough.
Even better if: To improve, I would have taken more images because I feel that I haven't taken enough.
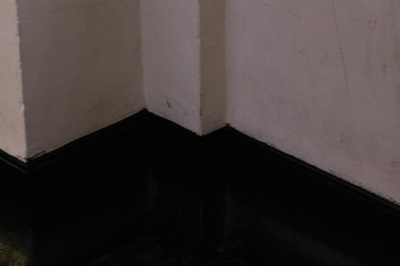
The Formal Elements
My intention for this task was to go around school and capture the seven formal elements, which include; line, contrast, form, texture, colour, tone and shape.
|
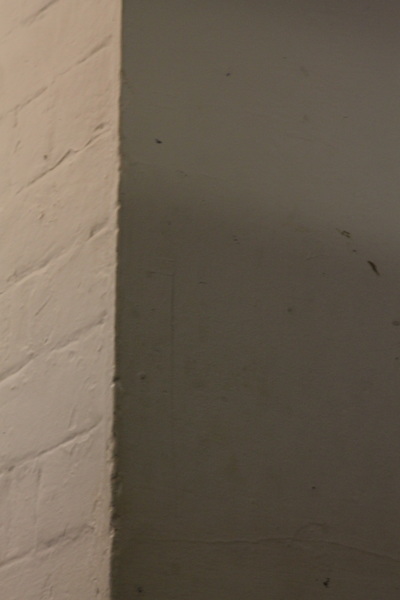
contrast
|
colour
|
|
line
|
tone
|
form/shape

|
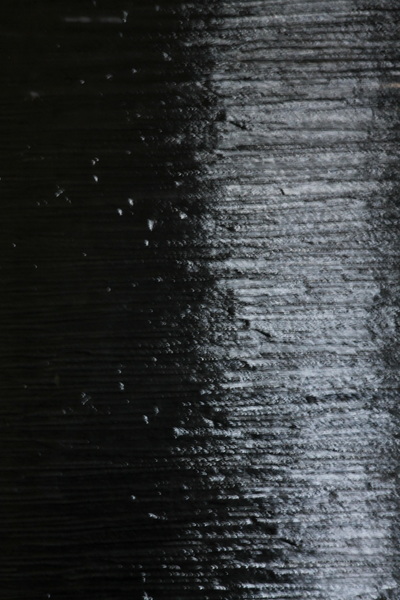
texture
|
Eugene Richards
Eugene Richards, photographer, writer, and filmmaker, was born in Dorchester, Massachusetts in 1944. After graduating from Northeastern University with a degree in English, he studied photography with Minor White. In 1968, he joined VISTA, Volunteers in Service to America, a government program established as an arm of the so-called” War on Poverty.” Following a year and a half in eastern Arkansas, Richards helped found a social service organisation and a community newspaper, Many Voices, which reported on black political action as well as the Ku Klux Klan. Photographs he made during these four years were published in his first monograph, Few Comforts or Surprises: The Arkansas Delta.
|
|
|
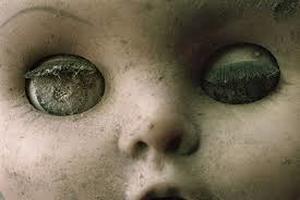
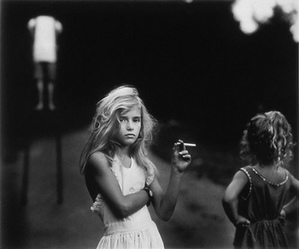
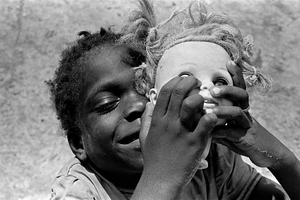
Form: These set of images indicate a very creepy feel due to the fact that they are objects, for example, a zoomed porcelain doll's head, really young girl holding a cigarette and a young boy being happy holding a doll's head.
Process: The process that Eugene Richards did to create this images were by using a micro-zoom lens to capture the doll's head, and photoshop on the other two two make them black and white.
Keywords: The keywords that conclude this photograph are: zoom, porcelain head of doll and abandoned children.
Content: The content for this image was Eugene Richards going to different countries in the world and documenting the various cultures.
Alexandra Palace
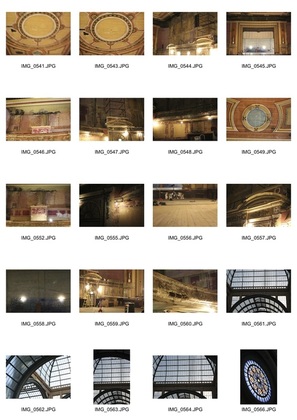
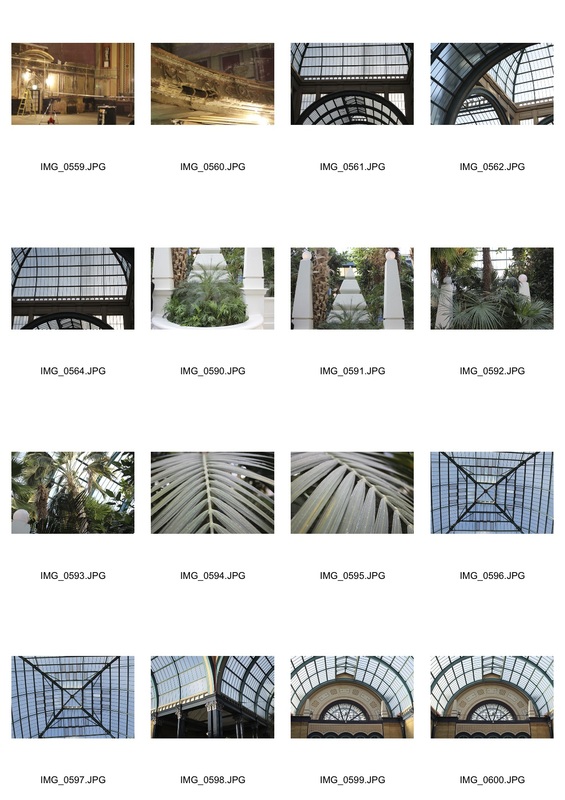
For this task we went to photograph the Ally Pally theatre, indeed we were the last group of people to see the theatre before it would be reconstructed, and to capture the abandoned nature of the old theatre.
|

|
|
|
|
|
|
|
|
What went well: I like how well focused my photograph's came out and I think that I captured the main areas in Alexandra Palace.
Even better if: To improve these photographs, I would use a tri-pod because my images in my contact sheet came out blurry.
Even better if: To improve these photographs, I would use a tri-pod because my images in my contact sheet came out blurry.
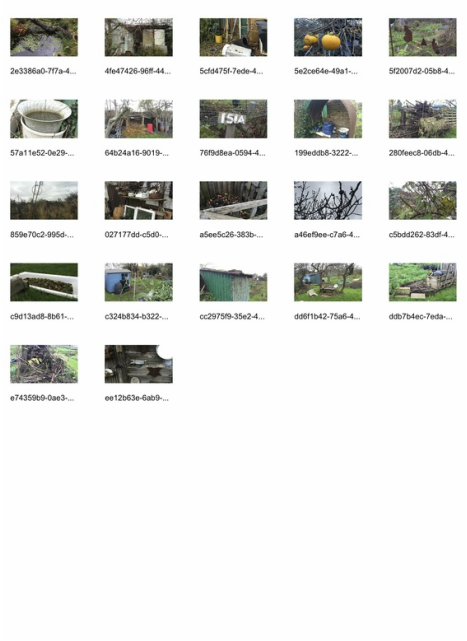
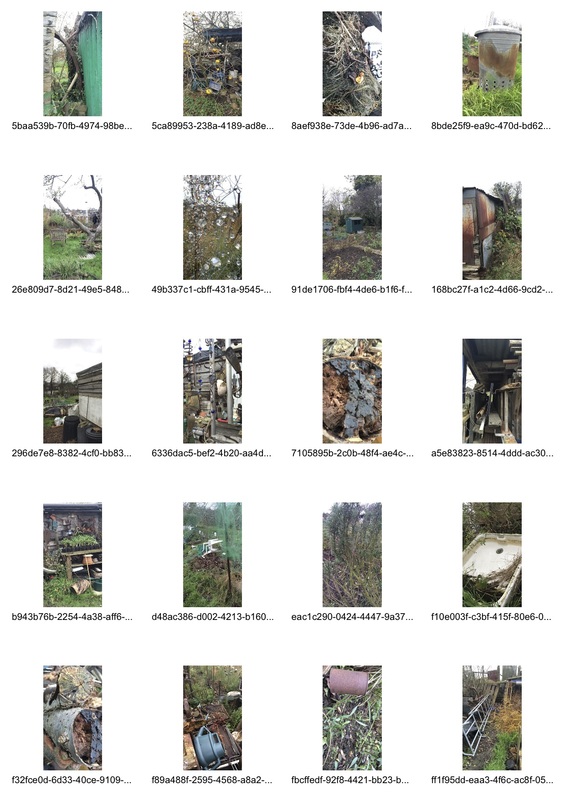
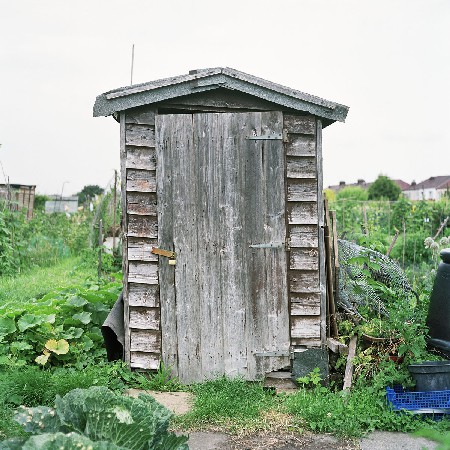
The Allotment
For this task, my class and I went to a local allotment and took pictures of the area. One photographer who does this is Paul Tucker. Tucker, a London based photographer, works closely with galleries, artists and designers, providing a comprehensive photographic service. Alongside his commercial work he has continued to develop his personal projects and regularly exhibits his work.
|
|

|
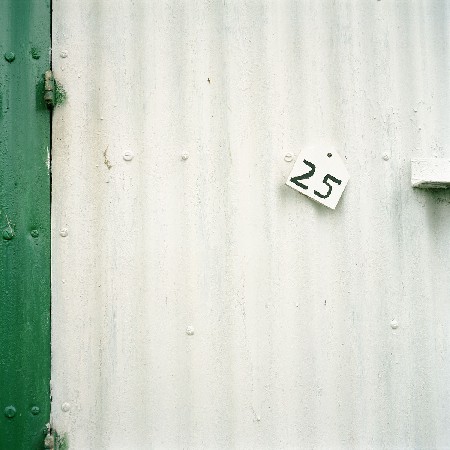
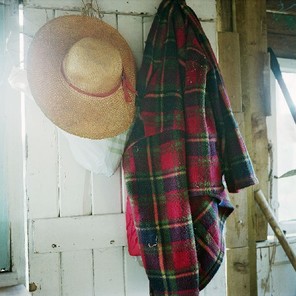
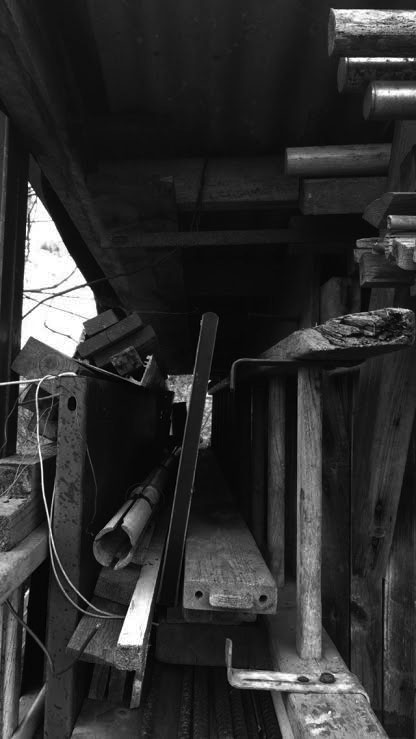
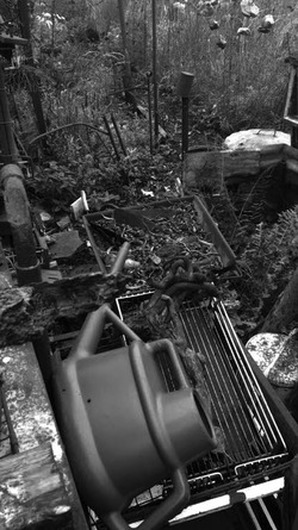
Form: These photographs show sections in an allotment, a wooden door, a metal door, a door which has a coat and a hat.
Process: I don't believe that there was a specific way of capturing this image, other than pointing the camera at the objects and adjusting the aperture to fit the photographer's liking.
Key words: The key words that sum up this image are, lonely, quiet and peaceful.
Context:A project that looks at the life cycle of an allotment, from it's dormant state in March to rapid and full growth in August. The images record the diversity of the site and provide a document of this change, guided by the human hand or by nature itself. The plotholders cultivate and recycle in many different ways creating a unique environment that is somewhere between domesticity and wilderness.
Raw images
|
|
|
|
|
ARTIST AND ME
This is Paul Tucker's photograph of the allotment on the left, it shows an old shed in the middle of greenery. The photographer has taken this image with a tri-pod because the shed is right in the middle lastly, the image is in colour. This is my image on the right, that has some similarities and some differences to Tucker's image. The similarities include that we both captured pictures in an allotment. However, there are quite a few differences. These include, my image is in black and white when Tucker's image is in colour, my image includes random BBQ equipment and in general, random equipment. Lastly, my image has not been taken on a tri-pod, it has been taken by hand. To improve my image, I would make most of my pictures in colour to make it look more like Paul Tucker's image and I would do the same processes as Tucker's.
|

|
What went well: I like how I captured the environment and vibe of the allotment.
Even better if: However, I forgot my camera at home and therefore, I took the pictures with my iPhone, I don't really like how my pictures came out portrait.
Even better if: However, I forgot my camera at home and therefore, I took the pictures with my iPhone, I don't really like how my pictures came out portrait.
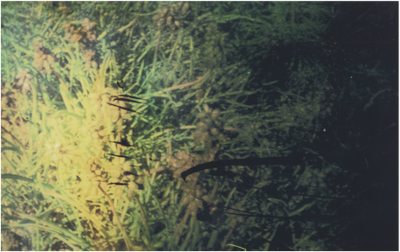
Negative Film Workshop
For this workshop, our work was inspired by the photographer Daisuke Yokoto who uses multiple layers and exposures to create beautiful texture and vibrancy in his work. He works in a methodical way starting on film developing and printing the image and then re photographs the images and if necessary repeats the process. He finally prints onto acetate and layers his images ontop of colour and other images.
The steps I followed:
- I chose my favourite negative film image
- Went into the dark room and did a tester strip of exposures in order to work out which exposure works the best for the chosen image.
- When I found the best exposure, I exposed with that exposure time the image onto some photographic paper (in this case 1sec).
- Then I put the photographic paper into the developer (for 2mins), then into the stop (for 1min), then into the fix (for 3mins), then finally I washed the paper for all the chemicals to come off.
- Following this step, there was a choice of different effects for the image, there was the bleach effect and the iron effect. I chose the bleach effect as I think it will make my image look really interesting and cool.
- Then, I put the bleached image back into the fix (for 3mins) for the bleach to fix onto the image (hence the name).
- Lastly, I then photographed the developed photograph for me to edit on Photoshop.
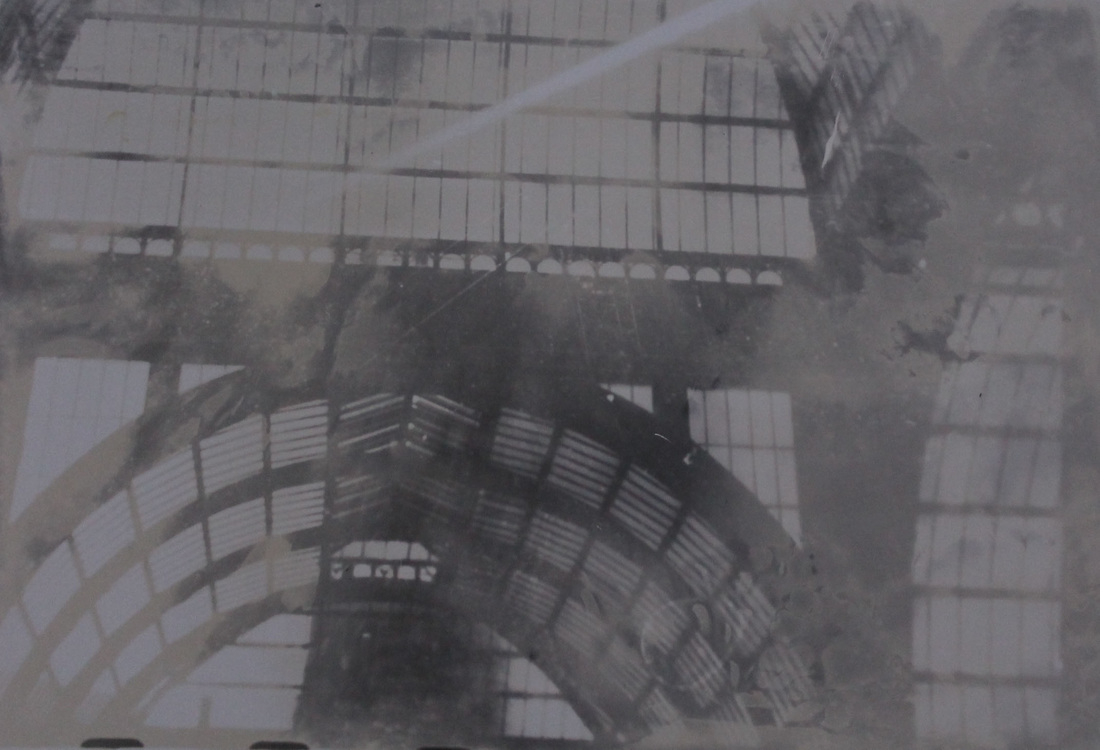
This is the first image which is bleached for 2mins and before I photoshopped it to improve the contrast, levels and colour.

This is the second image which I developed on Photoshop. I played around with the contrast, brightness, curves and levels, until I was satisfied with it.
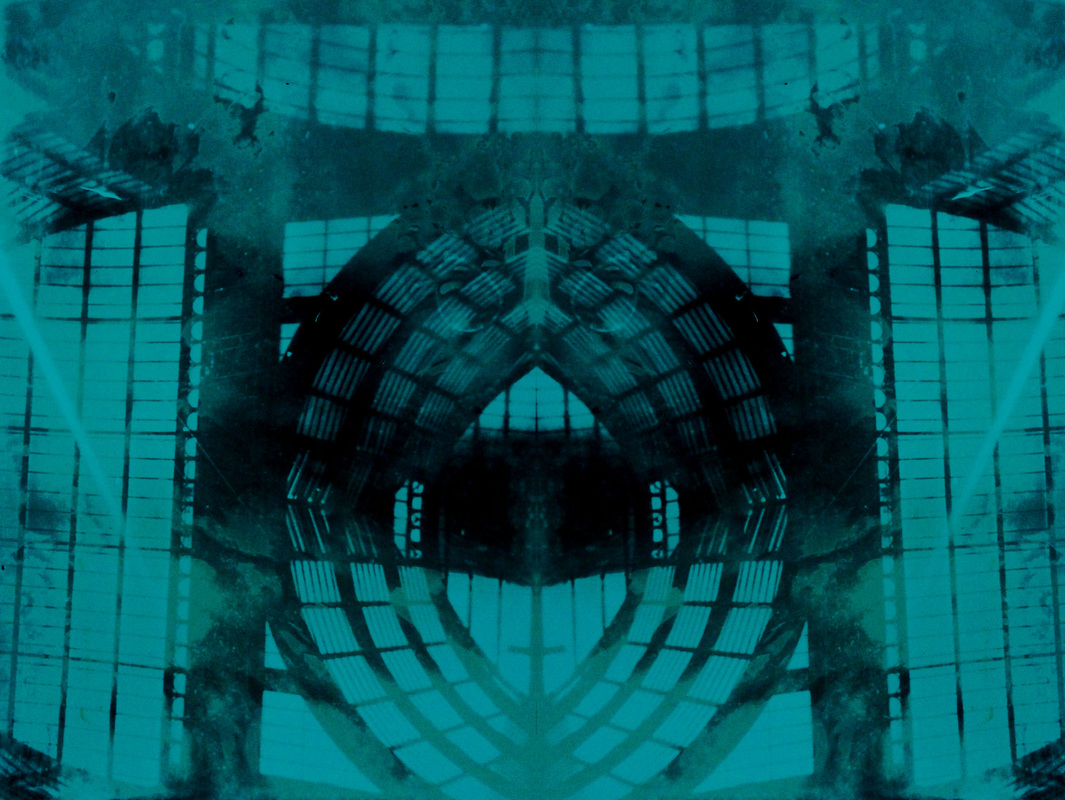
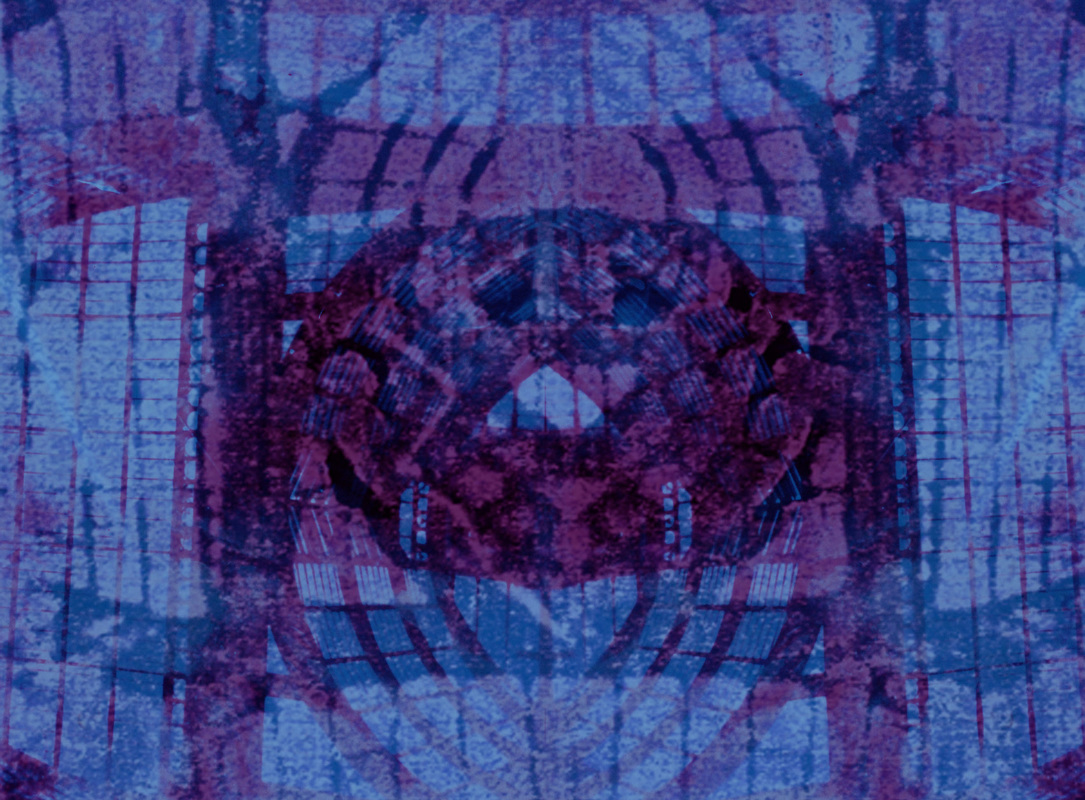
This is my photograph which I developed in Photoshop, I changed the colour of the image to a cyan/blue colour because I thought black and white was quite controversial and boring, therefore, I changed it to cyan/blue for a difference. In addition, I reflected the image to make it more interesting and eye-catching.

This is my final photograph which I layered with my acetate image in photoshop. I decided to make the image purple with the mix of blue/cyan to make the image more interesting.
ARTIST AND ME
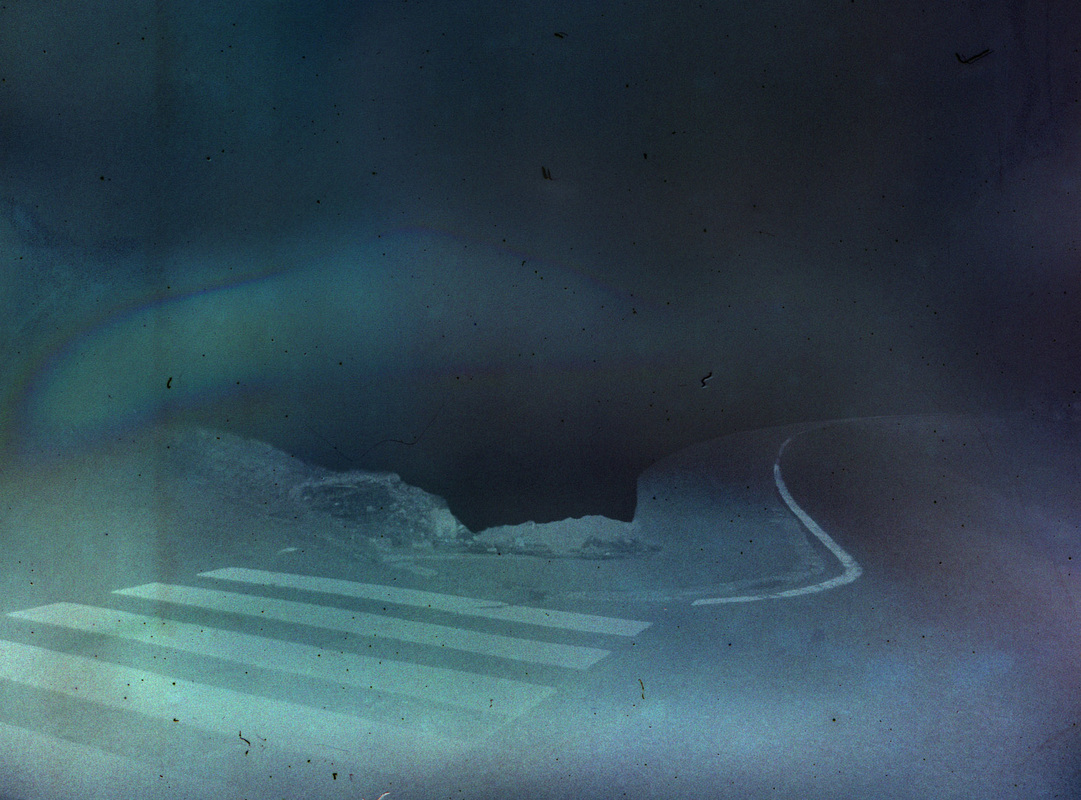
This image on the left is the artist's, it shows a road with zebra crossing and a whole at the end of the road. The photograph has the layering effect as there are chemicals on it. The image is mainly blue and a light shiny green. This is my image on the right that has some similarities and some differences with Yokoto's image. The similarities are that we both used the same technique, for example we both layered our images on photoshop. Another similarity is that my image also has a hint of blue. However, the differences are that my photograph is of a building, whereas Yokoto's image is of a road. Furthermore, my image has a more obvious layering effect.
|
|
REFLECTION
SET ONE
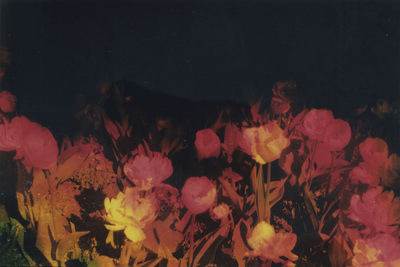
For my second strand I want to advance the typical mirror reflections, therefore I am going to base my work on the amazing and creating photographer Laura Williams. Laura Williams is a contemporary photographer, one of her projects is about reflections and environment.
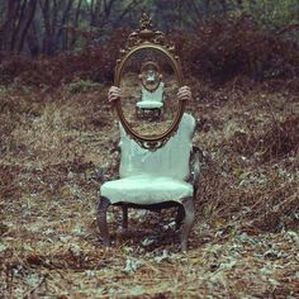
Form: This image shows an old turquoise chair in the middle of a forest, it also shows fingers holding up a mirror, but no body is shown. Furthermore, inside the mirror portrays the main image of the photo.
Process: The process for creating this image would be on photoshop, as it is impossible to create straight away in real life. Keywords: The key words to define this image are: reflections, chair, fingers, forest and mirror. |

Form: This image shows a girl in the middle of a park holding a long circular mirror exactly where her head is, she is wearing a navy blue skater skirt.
Process: The process of this image would be by placing it onto photoshop in order to create the illusion. Keywords: Reflection, trees, mirror |
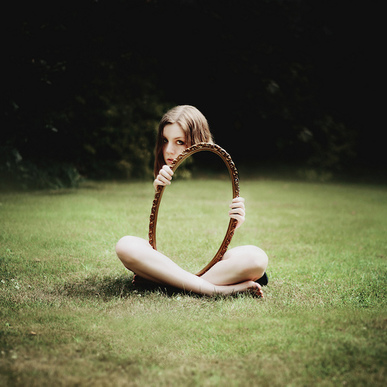
Form: This image shows another young girl holding a mirror against her body while she is sitting down on the grass.
Process: The process of this image would be by placing it onto photoshop in order to create the illusion. Keywords: Reflection, grass, girl, mirror |
Overall, this strand did not turn out the way I planned, therefore, I won't be carrying on with it and I will change the idea to the London City and reflections.
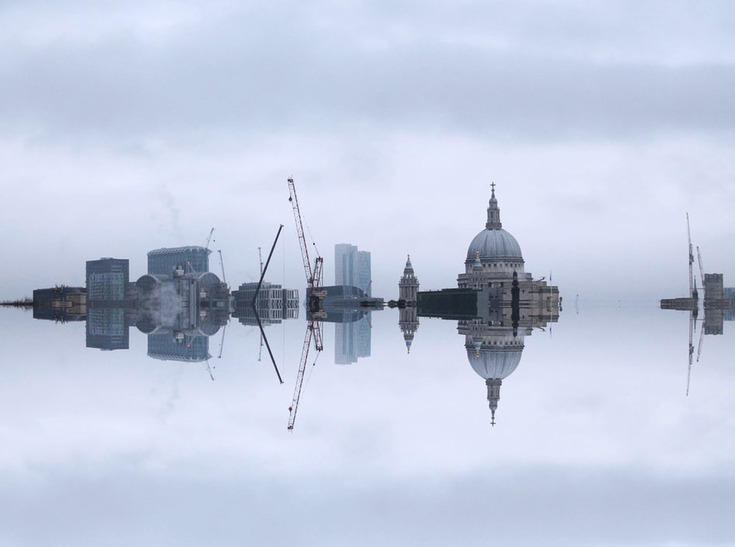
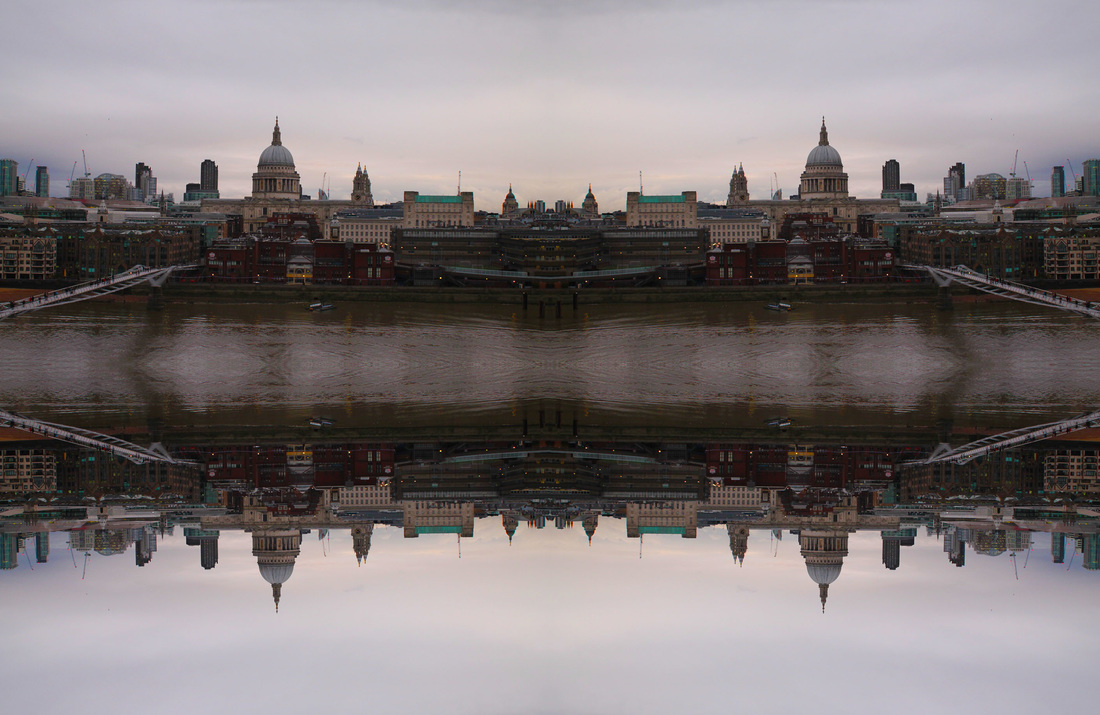
MAIN IDEA
For my main idea I have decided to take pictures of London at night and reflect it on the downside of the image. I decided to do this because I like the idea of reflections and symmetry, especially landscape. Furthermore, it's very harmonising to look at. The artist that has inspired me is the photographer Cocu Liu However, Jon Baker's work is not reflection, but the concept of capturing the city. The former water-meter reader Lui was catapulted to Instagram fame when he started showcasing the humor of contemporary scenes in his home city of Hefei in China. A self-taught photographer, Lui’s works were recently chosen as part of Apple World Gallery and he now travel to various US cities where he continues to shoot amazing urban and city images.
|
|
|
The process in creating these images:
- Opened my chosen image and placed it into photoshop
- Created a new page on photoshop, file-new-international paper
- Copied my image (cmd C) and pasted it (cmd V) onto the international paper
- Then I pressed 'duplicate layer' on the layer tool
- Following, I dragged the duplicated image below the original image and lined the two up
- Lastly, I went on edit-transform-transform vertical
My images
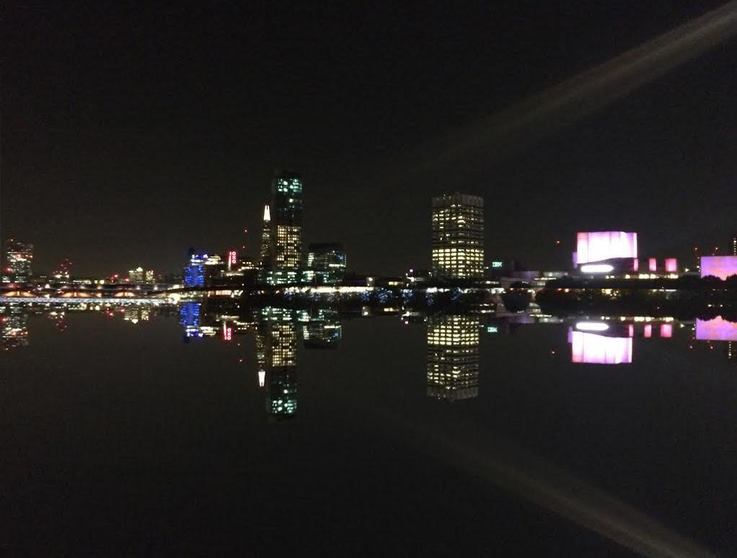
What went well: I really like the simplicity of the photographs, which contrasts with the busy London city.
Even better if: To improve these images I would make them more contrast because they look pale.
Even better if: To improve these images I would make them more contrast because they look pale.
ARTIST AND ME
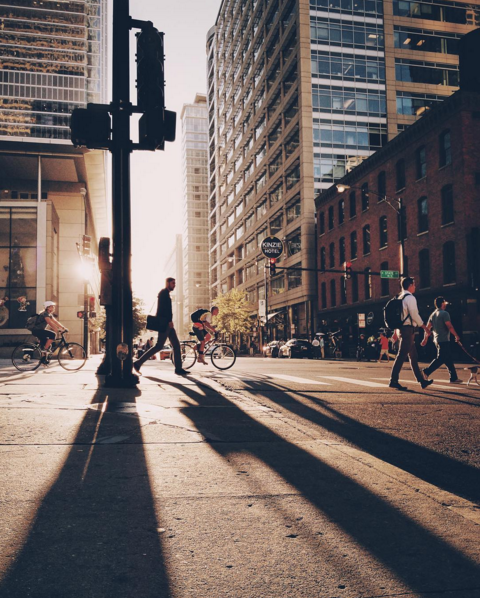
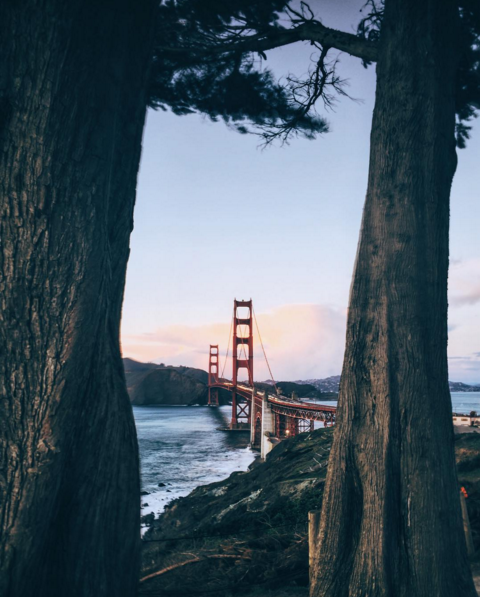
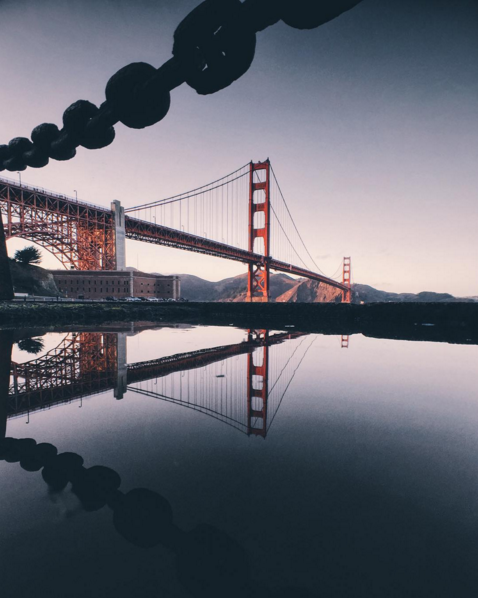
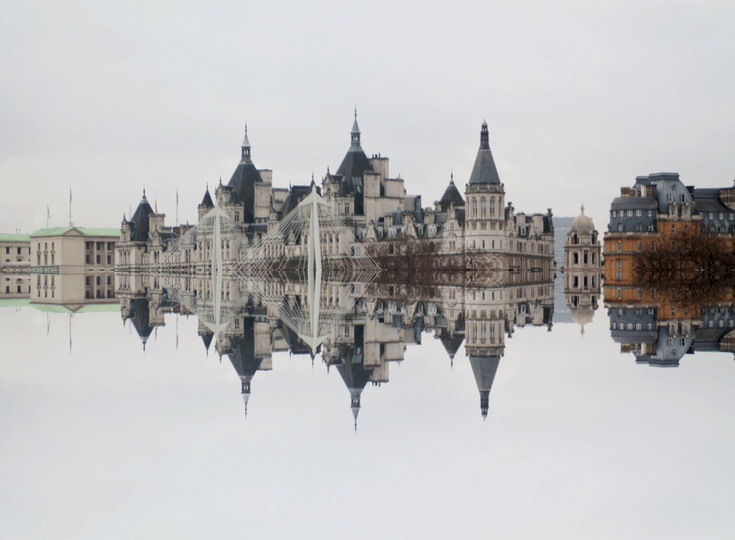
This is Coco Lui's image on the left, of the Golden Bridge, the tone of the photograph is quite dark, however other parts are highlighted, for example, the sky and the bridge, perhaps Lui did that intentionally to provoke the main thing in the photograph to the viewer-the bridge. The photograph also has a reflection of the bridge, which is what caught my eye and what made me pursue the idea. This is my image on the right, which has some differences and some similarities to Coco Lui's image. For example, the differences are the colours, for example, Lui's photograph has a more deep tone, whereas my photograph has a lighter and neutral tone. Another difference is the angle in which I photographed my photo; my angle that I took my image was straight-on, whereas Lui's angle is angled at a corner. However, the similarities are that we both captured one of the cities famous landmarks, London - St. John's Cathedral and St. Francisco - the Golden Bridge.

|

|
MIRROR CITY
Michael Shainblum has been a professional photography for nine years, since he was sixteen years old. He states that since he was little boy he always wanted to focus on creating. His work consists of Fine Art Landscape Photography , Aerial Photography, Aerial Filmmaking, Travel/ Adventure Photography and Commercial Timelapse Photography. Lastly, he has worked with Goggle, BMW, Nike, Samsung, Verizon and many more big companies.
For my first development I have decided to do something like Michael Shainblum as I want to make the city come alive and make it more interesting, eye-catching and different.
For my first development I have decided to do something like Michael Shainblum as I want to make the city come alive and make it more interesting, eye-catching and different.
My videos
In creating a similar video to Michael Shainblum's Mirror City video, I followed the simple steps from this video below.
The Finished Video
SET TWO
For my second development I want capture one of the biggest London's landmarks to show the importance of them. Therefore, I decided to capture the Big Ben. I will go and capture the Big Ben in the evening in order to photograph the lights. I will also now try and photograph with different angles to make my photographs more interesting.
My Images
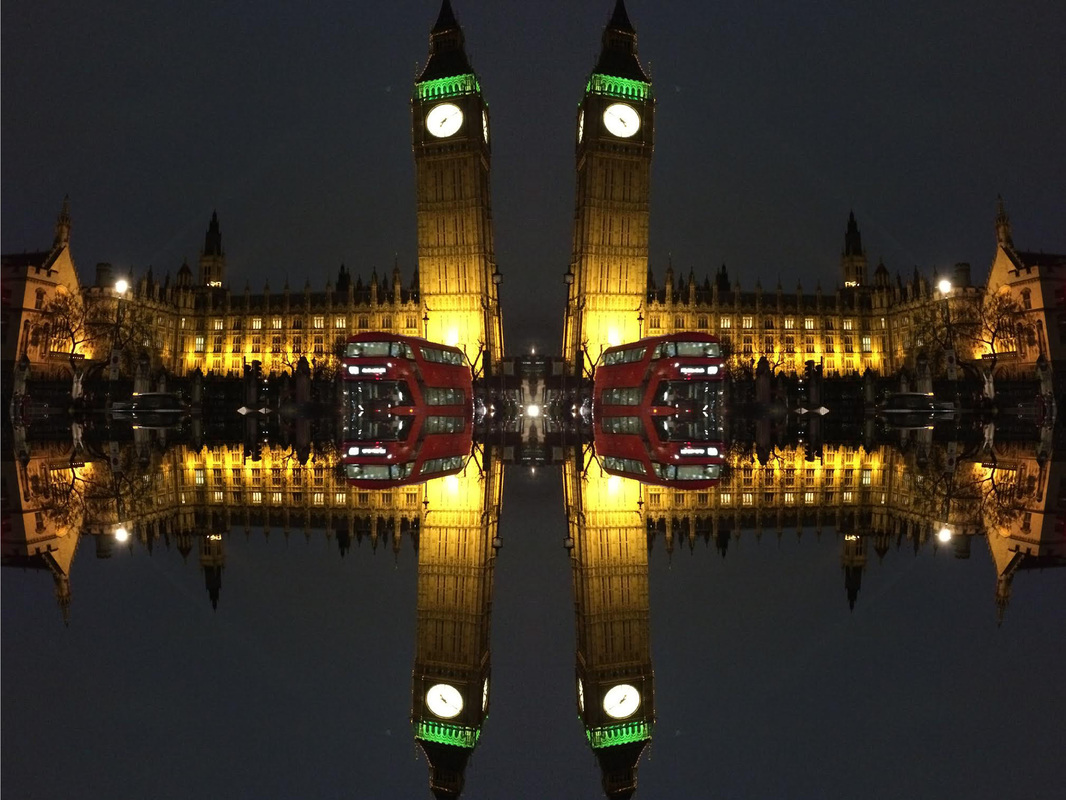

What went well: I like how I created the reflection of the building, as it makes the photograph more eye-catching and interesting.
Even better if: To improve my images, I will need to photograph on my Canon camera, instead of my iPhone 5s. Furthermore, I need to photograph a lot more images as two is not enough.
Even better if: To improve my images, I will need to photograph on my Canon camera, instead of my iPhone 5s. Furthermore, I need to photograph a lot more images as two is not enough.
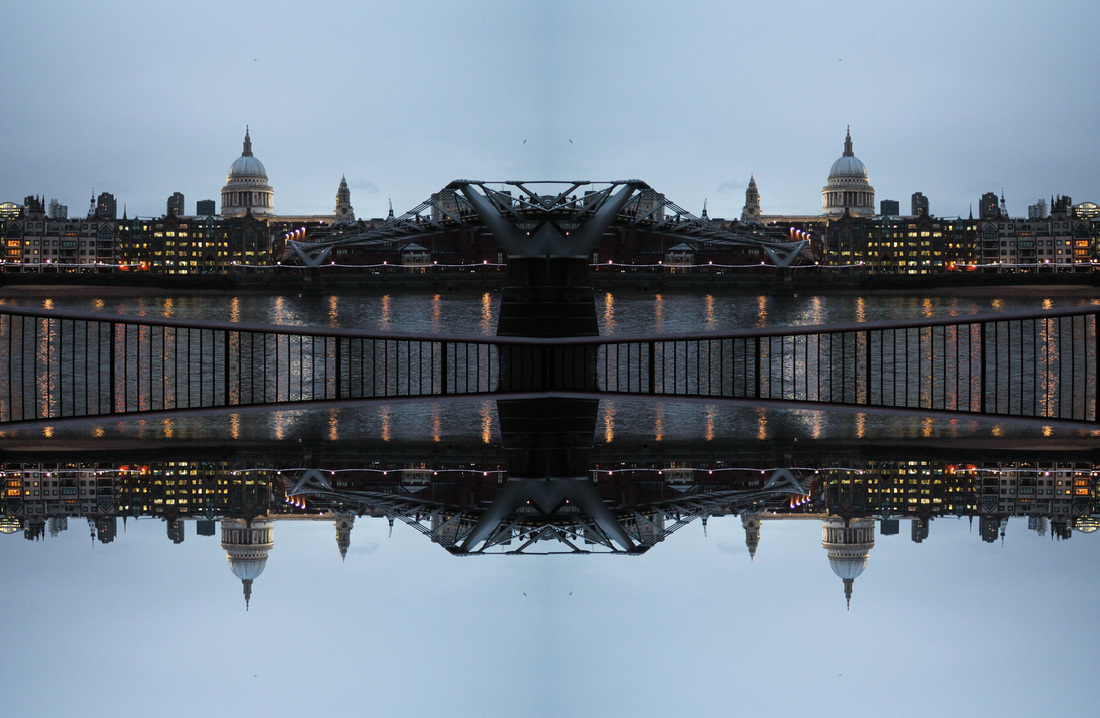
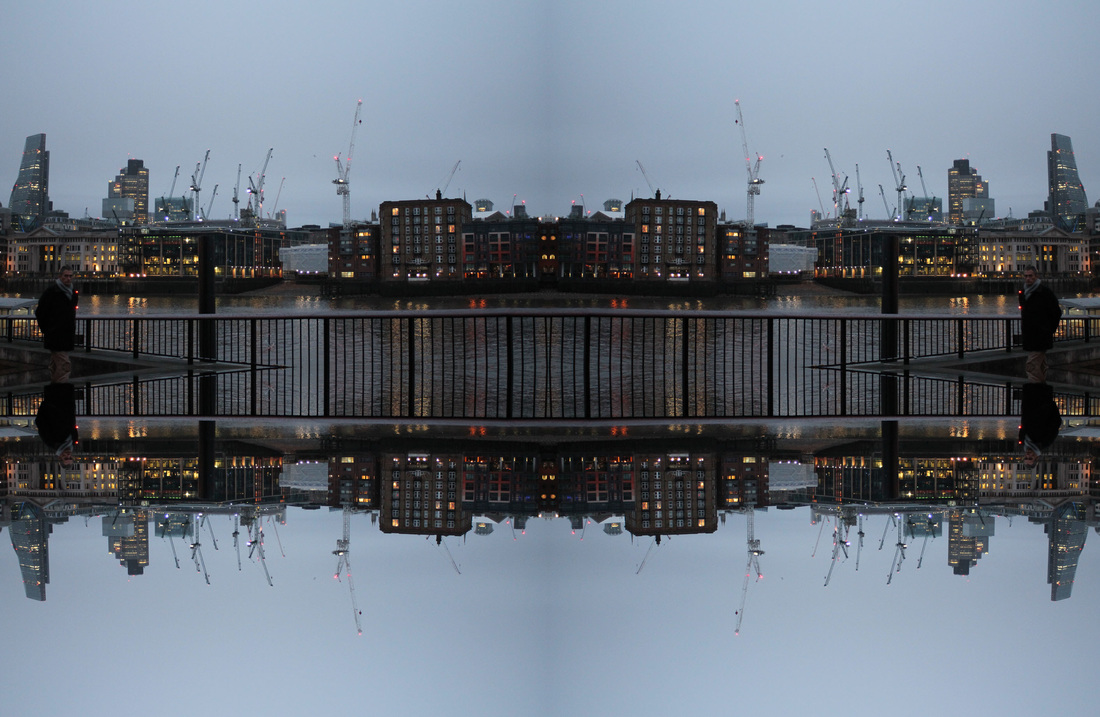
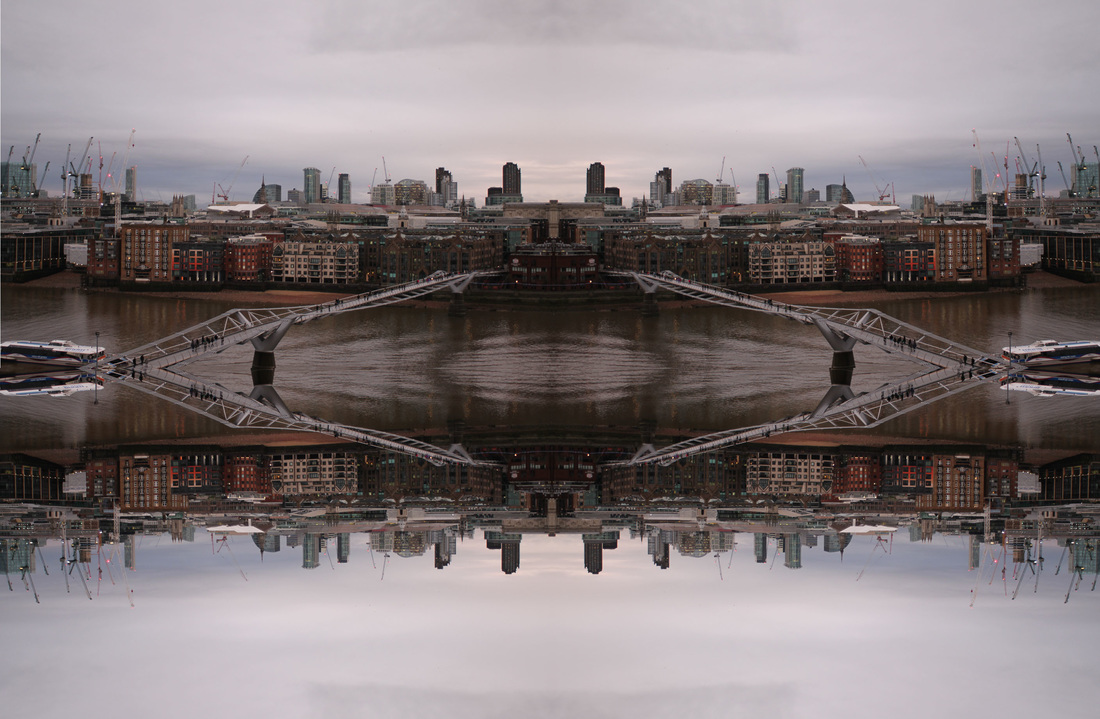
SET THREE
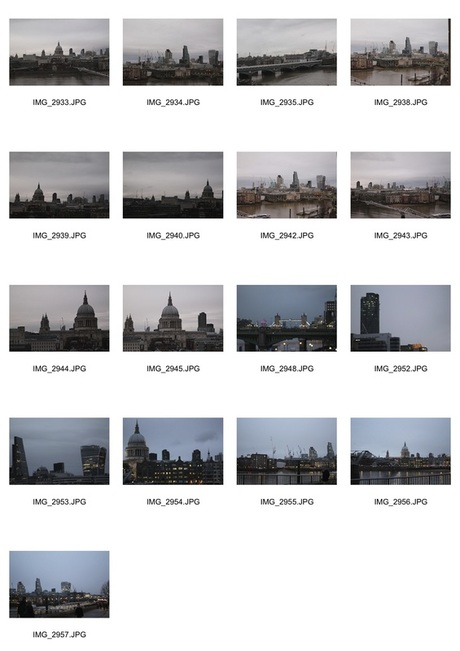
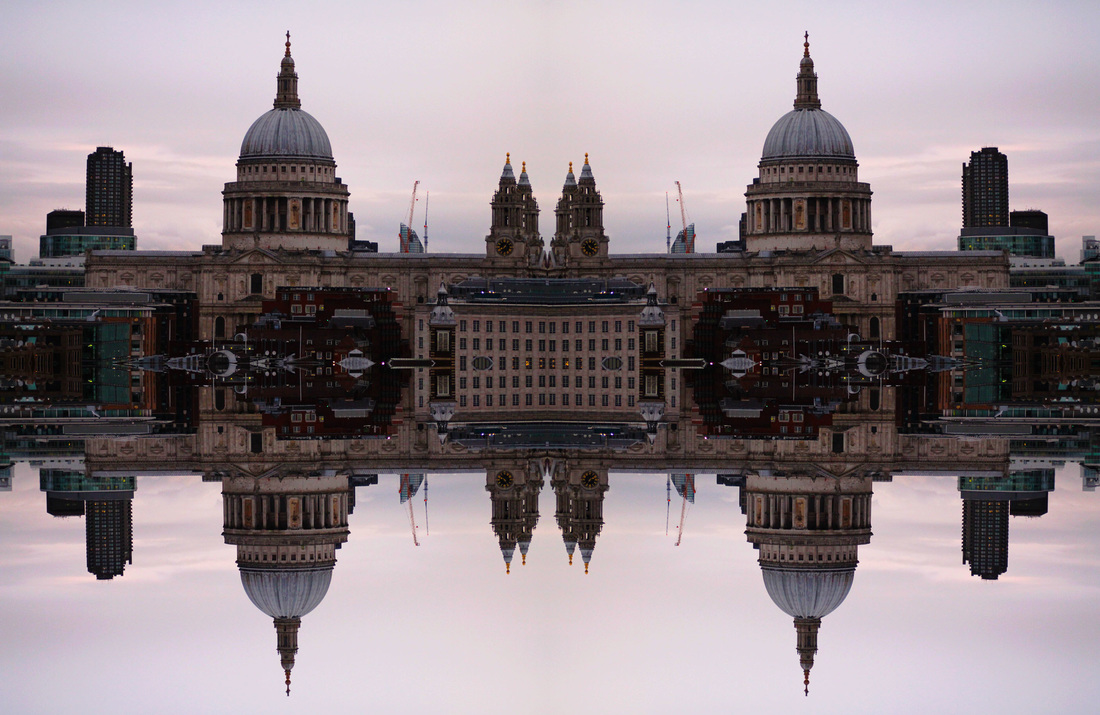
For my third development I want to take pictures at the Thames of the different buildings and reflect them. I have decided to photograph the city in day light instead of night time, as I wanted to see the difference in quality and part of the development, moving to day time photography fits nicely.

SET FOUR
For my fourth and final development I am going to do some GIFFs of the city and reflect it in order to make the city come alive and to make the photographs be more interesting. By this, I wanted to portray the life of a busy city, and by creating GIFFs I believe this is the best way to highlight the city life, instead of still photographs.
To create a giff I followed these simple steps:
To create a giff I followed these simple steps:
- Open my chosen images into Photoshop
- Secondly, I checked every image size to made it 20cm width, 13cm height and 180 resolution pixels
- Then I created a new page having the dimensions double of the images, for example, 40cm width, 26ccm height, however, I kept the resolution the same.
- Following, I copied each image (cmd C) and pasted it (cmd V) onto the white page that I just created and clicked 'duplicate layer so I have two images; then I dragged the second image (the duplicated one) underneath the first one and I went on edit-transform-flip vertical.
- Then I saved it as '1' on the desktop.
- I did this step for every image.
- Then I re-opened my reflected images into photoshop and selected "cmd A" to select the whole image then select "cmd C" to copy the image onto the first image.
- I did this to the second image and then pasted it (cmd V) on top of the first image (to create a layer), I did this to all the images and pasted it on the first image to create many layers.
- Then I deleted all the images and kept the first image with all the layers
- Following this, I opened 'Animation' on the top of the page
- Then, I de-selected (pressed the eye on the layers) but kept the first image selected
- Went to the animation box and pressed the copy option (a little box) which copied the first image into the animation box and carried on doing this for each image.
- Lastly, I chose the speed of the giff which was 'no delay' and then I pressed 'forever' meaning the giff will play in loops forever.
SET FIVE
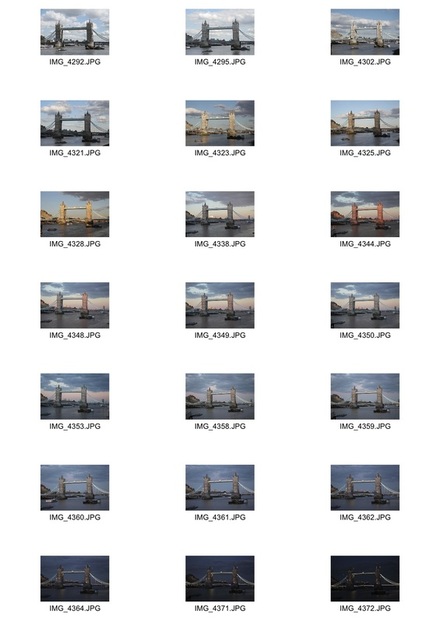
I have gone back to photographs, however I have also created a GIF to show the light changing. I stayed in central London for the whole day at London Tower, and photographed the same view every hour, in order to combine all the day time photographs together to show how the light changes. My final piece doesn't link to reflection, this is because I didn't know how to reflect light changing with my final piece idea. The artist who inspired me to create this is Adrian Brannan.
My response
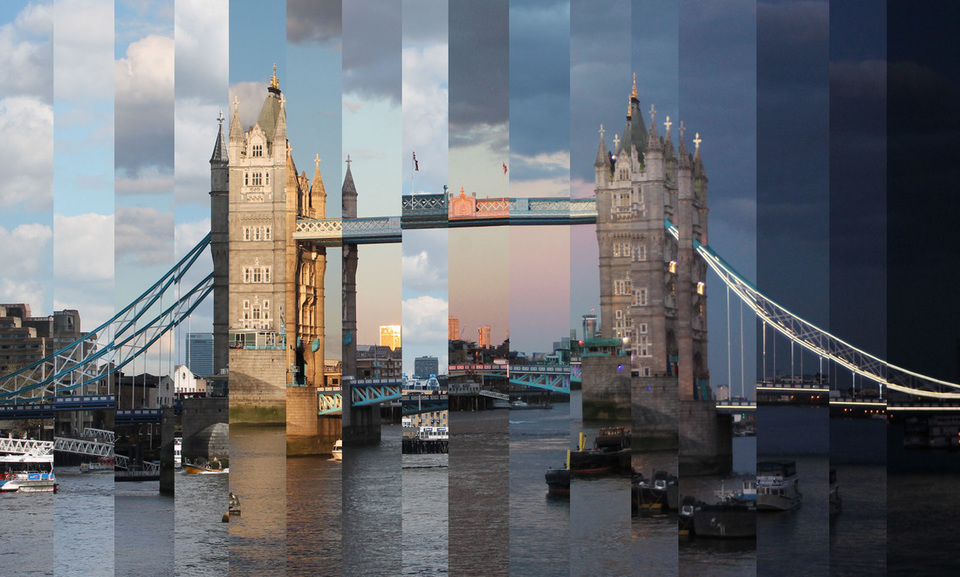
What went well: I like how subtle but effective the light change is because it makes the image idea more effective and real life.
Even better if: To improve the photograph I would be more precise in staying exactly same place while capturing the light changes. This is because I found it very difficult to line up the images. However, I took advantage of that and found an artist who creates collages with time differences, called Adrian Brannan.
Even better if: To improve the photograph I would be more precise in staying exactly same place while capturing the light changes. This is because I found it very difficult to line up the images. However, I took advantage of that and found an artist who creates collages with time differences, called Adrian Brannan.
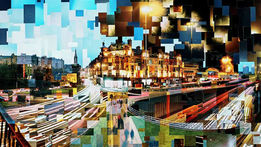
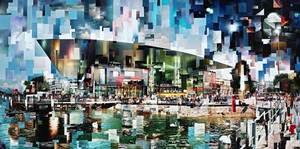
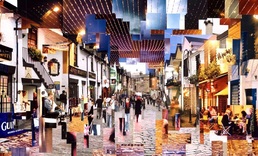
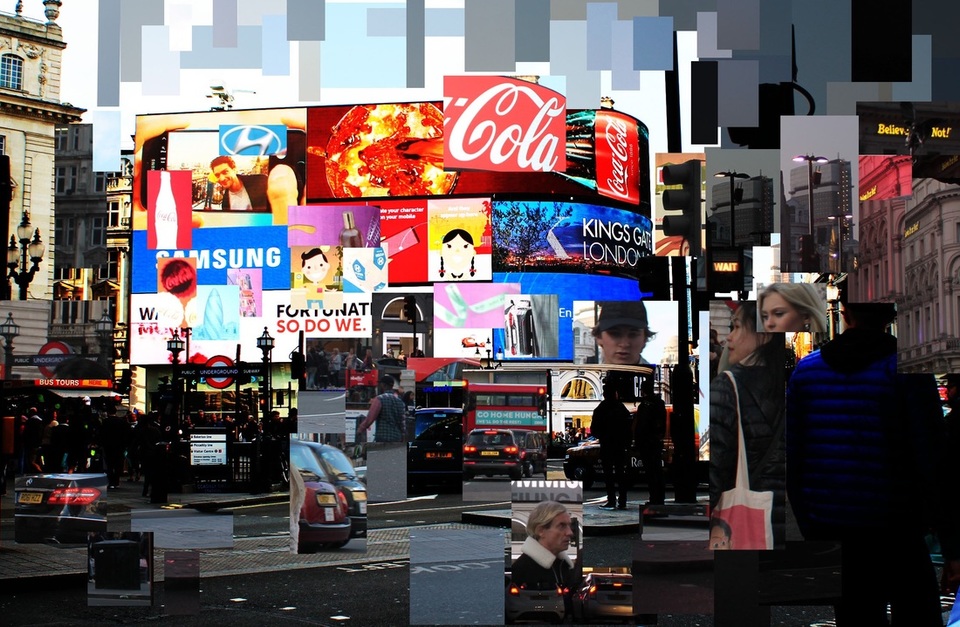
SET SIX
For my sixth strand, I will carry on with the collage idea because I had difficulty with lining up the images, therefore, I will take advantage of this and do something similar to Adrian Brannan. I will be going to Piccadilly Circus, because it's one of London's most busiest areas; I will go at 5pm until night, to capture the light changing.
|
|
|
Overall, this environment project was quite a challenge for me because I felt like I was put out of my comfort zone and I found it very difficult to come up with new ideas on how to develop my main idea however, I think that is a good thing because I am improving my photography skills. Lastly, I am very proud of my final outcomes as I feel like I have tried my best in these circumstances.
